
Bathroom Waterproofing in Sri Lanka: What to Do Before Tiling
Tiles make a bathroom easy to clean, but tiles and grout do not form the primary waterproof barrier. Water can pass through cracked grout, open joints and penetrations into the screed or concrete below. Good bathroom waterproofing in Sri Lanka protects the structure even when a surface finish develops a minor defect.
This matters in houses, apartments, hotels and hospitals, where a small wet-area leak can damage ceilings, electrical fittings and occupied rooms below. Repairing the membrane after tiling usually costs far more than detailing it correctly during construction.
What should be waterproofed in a bathroom?
- The complete floor, including the shower area and dry-side transitions
- Floor-to-wall corners and changes in level
- Walls exposed to direct shower spray
- Pipe sleeves, mixer outlets and service penetrations
- Floor drains, channels and outlet flanges
- Door thresholds and interfaces with adjoining finishes
The required wall height and extent depend on the wet-area design and project specification. A walk-in shower needs broader protection than a contained shower tray. Agree on the protected zone before plumbing and tiling begin.
Step 1: inspect and prepare the substrate
The concrete or screed must be firm, clean and compatible with the chosen membrane. Remove dust, laitance, curing compounds, loose mortar and sharp projections. Repair honeycombs and cracks instead of using the waterproof coating as a filler.
Check that the floor falls toward the drain. Waterproofing follows the surface below it; it cannot redirect water across a flat or back-falling floor. Correct the slope before the membrane is applied.
Step 2: detail corners, pipes and drains
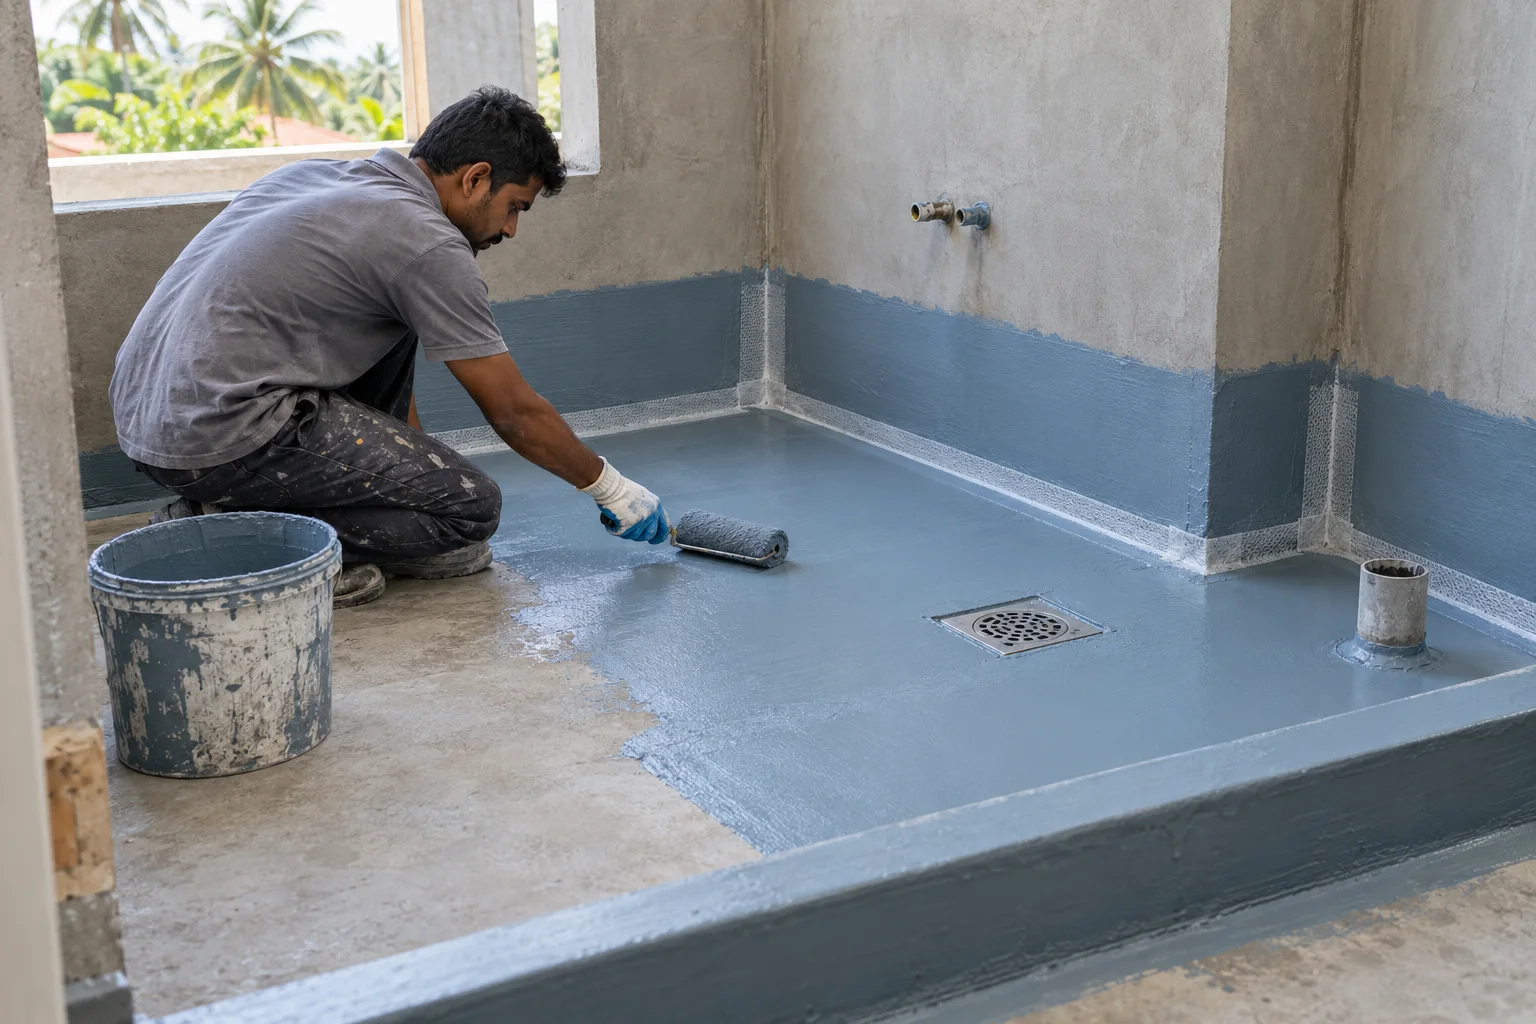
Most wet-area failures begin at an interface rather than in the centre of the floor. Form compatible fillets or use reinforcing tape at corners where the specification requires it. Seal around pipe sleeves without blocking future connections, and connect the membrane securely to the drain flange.
A pipe passing through an oversized, mortar-filled hole remains a weak point. The contractor should repair the opening, prepare the surrounding surface and use a flexible detail that tolerates limited movement between the pipe and wall.
Step 3: choose a compatible waterproofing membrane
Flexible cementitious membranes suit many concrete and masonry bathrooms because they bond to mineral surfaces and can receive compatible tile adhesive. Other liquid-applied systems may also be suitable. Selection depends on substrate moisture, movement, curing time, finishes and the manufacturer's approved build-up.
Use the specified primer, number of coats and coverage. A coating that looks continuous may still be too thin. Apply successive coats in the required directions and allow each stage to cure under the actual site conditions.
Step 4: protect and test the waterproofing
- Inspect the cured surface for pinholes, damage and incomplete details.
- Temporarily seal the drain using a method that will not damage the outlet.
- Carry out the specified controlled water test for the required period.
- Check the room below and all adjoining walls for moisture.
- Record the inspection before releasing the area for tiling.
- Protect the membrane from tools, ladders and following trades.
How tiles should be installed over waterproofing
Use a tile adhesive that is compatible with the membrane and suitable for the tile, substrate and wet-area exposure. Avoid puncturing the waterproofing with guides or fixings. Movement joints in the substrate and perimeter should continue through the finish with an appropriate flexible detail.
Why bathroom waterproofing fails
- The membrane stops at the floor and does not turn up the walls
- Corners and penetrations receive no reinforcement or flexible seal
- The floor holds water because drainage falls are incorrect
- The coating is diluted, spread too thinly or covered before curing
- Later plumbing or tile work punctures the finished membrane
- No inspection or water test occurs before tiling
When an existing tiled bathroom leaks
First separate plumbing leaks from waterproofing defects. Check supply and waste pipes, seals, drains and the pattern of dampness. Replacing grout or applying a clear surface sealer may help only when the defect is genuinely superficial. A failed membrane or saturated screed usually requires a broader repair.
Bathroom waterproofing FAQs
- Should waterproofing go above or below the screed?
- The correct position depends on the designed floor build-up, drainage and selected system. Follow one coordinated specification rather than combining details from different systems.
- How long should waterproofing dry before tiling?
- Curing time varies with the material, thickness, temperature and humidity. Use the current product instructions and do not cover a membrane that has not cured or passed inspection.
- Can new waterproofing be applied over bathroom tiles?
- Some remedial systems allow this on sound, prepared finishes, but loose tiles, failed falls and hidden membrane defects can make an overlay unreliable. Inspect the complete build-up first.
Wet-area waterproofing from H.E. Engineering
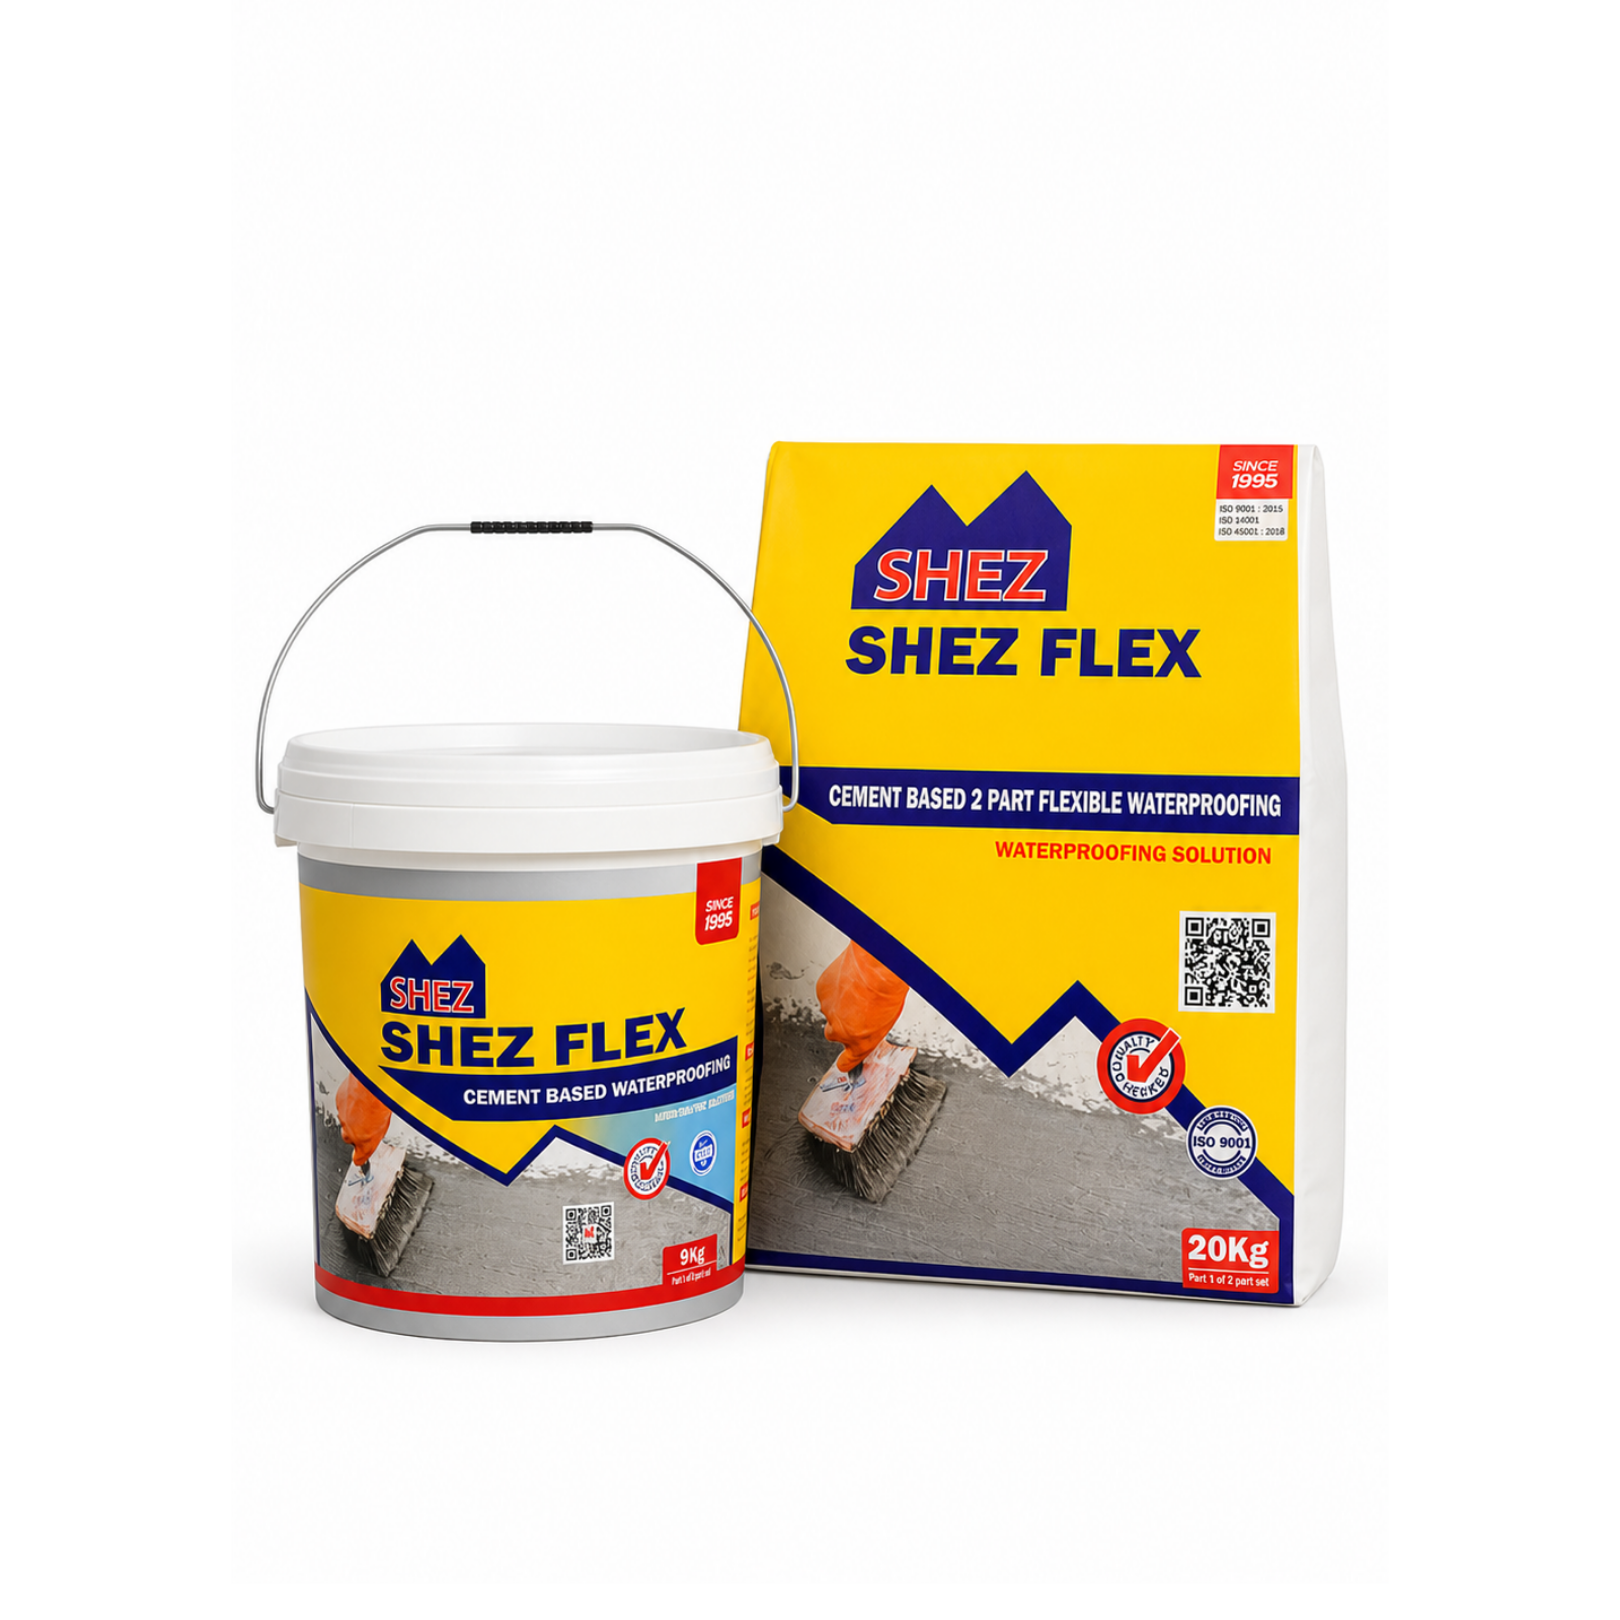
H.E. Engineering installs wet-area waterproofing in homes, apartments, hotels, hospitals and commercial buildings across Sri Lanka and the Maldives. Our team coordinates substrate repair, SHEZ or project-specified membranes, drainage details and inspection before finishes are installed.