

Expansion Joint Sealant Repair: Diagnosing Leaking Building Joints
Expansion and movement joints divide sections of a building so they can move without uncontrolled cracking. They appear on roofs, podiums, terraces, façades, car parks and between structural blocks. Effective expansion joint sealant repair must preserve this movement while keeping water and debris out.
Sri Lanka's heat, ultraviolet exposure and intense rain place joint materials under repeated stress. A seal that looks intact from above may have lost adhesion along one edge, allowing wind-driven water to travel beneath finishes and emerge far from the joint.
How movement-joint sealants fail
- Adhesive failure where sealant separates from one joint face
- Cohesive tearing through the body of the sealant
- Hardening, cracking or chalking after weather exposure
- Three-sided adhesion that prevents the bead stretching correctly
- Insufficient or excessive sealant depth
- Damaged joint edges, contamination or trapped moisture
- Movement greater than the selected sealant can accommodate
Diagnose the joint before removing it
Map the leak and inspect the full joint, including intersections, upstands, terminations and drainage outlets. Measure joint width at different temperatures if movement is significant. Identify the existing sealant where possible, because incompatible materials can affect adhesion and curing of the replacement.
Check whether water is entering through the joint or arriving from an adjoining membrane, crack, window or parapet. On trafficable joints, inspect metal covers, nosings and fixings. A new sealant bead will not correct loose joint hardware or a torn membrane beneath it.
Remove failed material completely
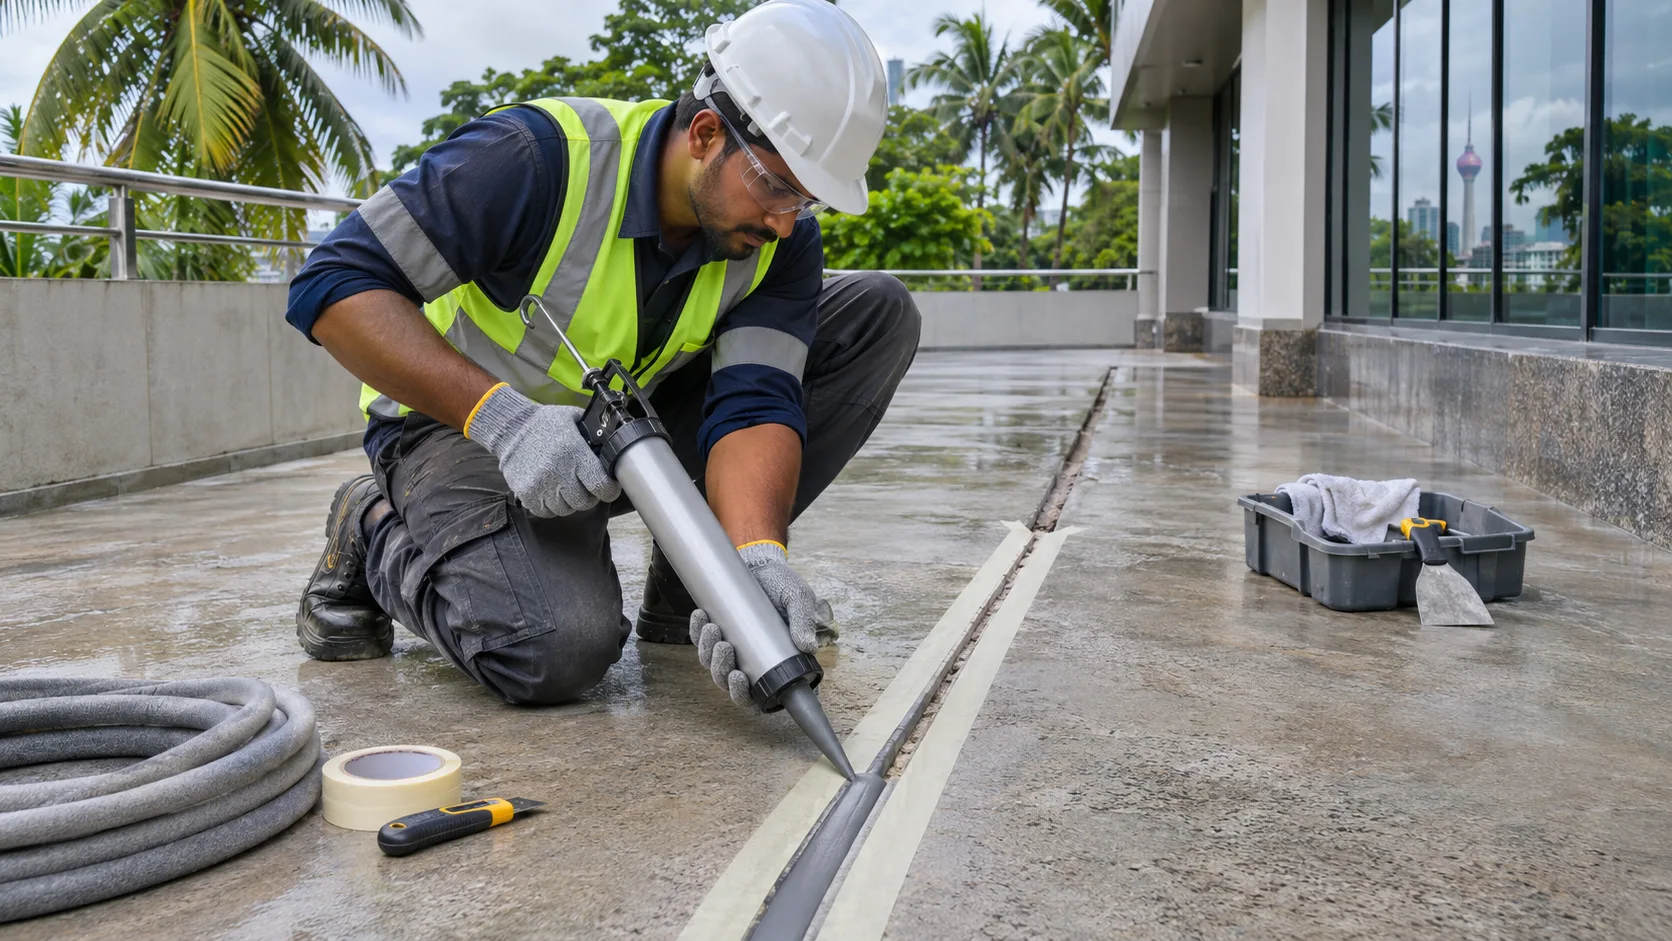
Cut out the old bead without damaging the concrete, masonry, metal or waterproofing. Remove residual sealant, primer and contamination from the adhesion faces using methods approved for the substrate. Weak or spalled joint edges should be repaired and allowed to cure before resealing.
- Protect adjacent finishes and establish safe access.
- Remove the failed sealant and old backing material.
- Clean and repair both joint faces to sound substrate.
- Confirm the joint is dry enough for the selected system.
- Install closed-cell backing rod without puncturing or stretching it.
- Apply compatible primer where the manufacturer requires it.
- Gun sealant continuously and tool it against both joint faces.
- Protect the joint during curing and inspect the completed profile.
Why backing rod and bond-breakers matter
Backing rod controls depth, supports tooling and prevents the sealant bonding to the bottom of the joint. This encourages two-sided adhesion, allowing the bead to change shape as the joint opens and closes. The rod diameter should hold it securely without forcing an unsuitable joint profile.
Select sealant for movement and exposure
Selection should consider calculated movement, joint dimensions, substrate, ultraviolet exposure, immersion, traffic, cleaning chemicals and compatibility with adjoining membranes. Polyurethane, silicone and hybrid sealants have different strengths; the right family depends on the detail rather than a generic preference.
Joint geometry controls strain
A sealant bead needs a width-to-depth relationship suited to the material and joint. A deep, narrow bead can be too stiff, while an overly thin installation may tear or lack durability. Follow the designed dimensions and manufacturer limits rather than filling the entire void with sealant.
Interfaces are the highest-risk locations
- Changes from horizontal to vertical joints
- Intersections between movement and construction joints
- Membrane terminations at joint assemblies
- Drainage channels and kerbs
- Façade corners and window perimeters
- Ends of proprietary joint covers
These points need coordinated details because several materials and movement directions meet. Mock-ups can confirm how sealant, membrane, cover plates and finishes connect before work proceeds across a large area.
How to inspect a completed repair
Look for full contact to both faces, a smooth continuous profile, correct terminations and freedom from bubbles, gaps or surface contamination. Controlled water testing may be appropriate after curing. Keep records of material batches, weather conditions and repaired joint lengths for future maintenance.
Expansion joint sealant FAQs
- Can new sealant be applied over old sealant?
- A durable repair normally requires the failed material and residue to be removed so the replacement can bond to sound, prepared joint faces.
- Why does sealant pull away from only one side?
- One face may be contaminated, damp, unprimed or made from a less compatible material. Joint movement and bead geometry can also concentrate stress at that interface.
- How often should external joints be inspected?
- Inspect them as part of planned building-envelope maintenance and after unusual movement or severe weather. High-exposure and critical waterproofing joints may need more frequent checks.
Joint waterproofing by H.E. Engineering
H.E. Engineering repairs movement joints, construction joints and façade seals across Sri Lanka and the Maldives. Our work covers investigation, substrate repair, compatible sealant installation and integration with adjoining waterproofing systems.